Tips on painting the interior of your home
By Melbourne Property Stylists|December 02, 2016
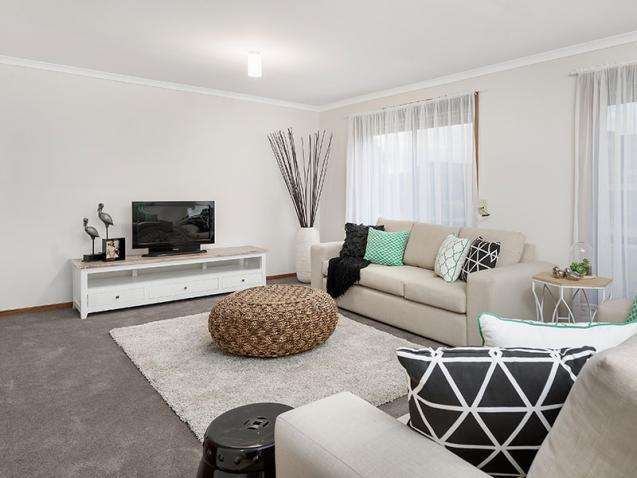
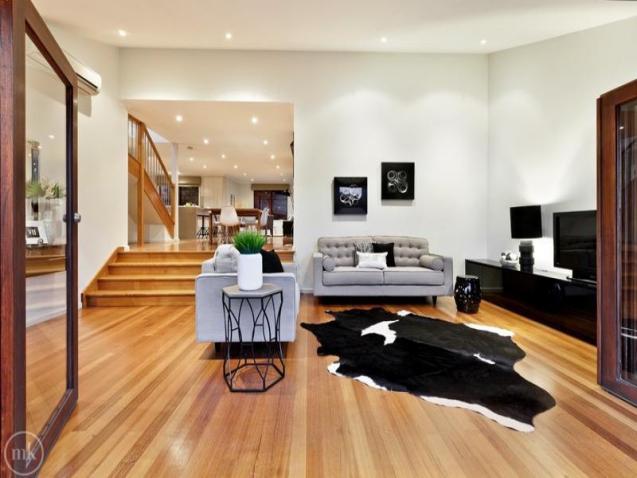
With every home, there will come a stage when your kitchen, bedroom and other internal rooms might all need a bit of a facelift or makeover. One of the ways you could go about this is by bringing in a professional for some home styling advice, or you could roll up your sleeves and start doing it yourself.
As many homeowners have discovered, one of the best and most inexpensive ways of injecting new life into tired old rooms is to give them a new coat of paint. However, before reaching for paint pot and brush, take a few moments to plan and prepare the room in question, and the results will look better and last longer. Here are a few hints and tips to follow when painting the interior of your home.
Preparation
There is no way of bypassing this most important part of the job, which is to prepare the walls and woodwork prior to painting them. Scrape down old paintwork, removing blistered or flaking patches, clean walls with a warm water and bleach solution to remove any mildew and allow to dry, and use sugar soap and warm water to clean any residue from gloss work.
If there are holes and cracks in the wall, use interior filler which, when dry, can be sandpapered to a smooth finish. If you are going to paint a wall that has been wallpapered, then remove all traces of paper and ensure the surface is smooth and dry before starting the painting.
Tinting and using a primer
You will need to prime the walls and woodwork because primer allows a one-coat coverage for your topcoat, stops stains from bleeding through, and improves adhesion of paint to walls. Professional painters will usually add a small amount of your topcoat colour to the primer so that the final colour completely covers the primer using just one coat of paint. It also helps when you are painting a dark coloured wall a lighter colour as well.
Start with ceilings and walls
Begin with painting the ceilings and walls before you start any gloss work, as you can cover any overrun of paint from the walls with a crisp gloss finish to skirting boards or picture rails. Gloss also takes slightly longer to dry than matte wall paints and emulsions, so complete the larger areas of wall space first so that you don’t end up making marks on a still wet door trim or window sill.
Invest in a paint grid
Rollers are a really good way to cover larger areas with paint but the paint trays they come with can be easily overturned, and paint does drip easily from the roller. Invest in a paint grid, which is a rectangular plastic or metal grid that hangs inside the rim of an empty paint bucket. Fill the bucket halfway with paint, dip in the roller, and then roll it up against the grid, which will get rid of excess paint. So when you lift your arm up to paint the ceiling or wall, drops of paint don’t run back down your arm or splash onto the floor.
Use an extension pole
To save a lot of arm and neck ache, as well as to avoid having to balance on stepladders, invest in a good extension pole – one that goes from 18 to 36 inches will cope with ceilings around 8 to 9 feet high. Cover the flooring with canvass floor cloths to protect your carpets or floorboards, as these will absorb paint drips unlike plastic coverings.
Use masking tape on glass windows
Last but not least, when it comes to paintwork around windows, a good tip is to put lengths of masking tape on the glass next to the woodwork being painted. So when you paint the narrow trims, any excess gloss runs onto the tape, and when the paint dries, you pull off the masking tape along with any drips of paint so the window remains clean.