How Do You Cement Render A Wall?
By Jim's Rendering Sydney|September 14, 2022
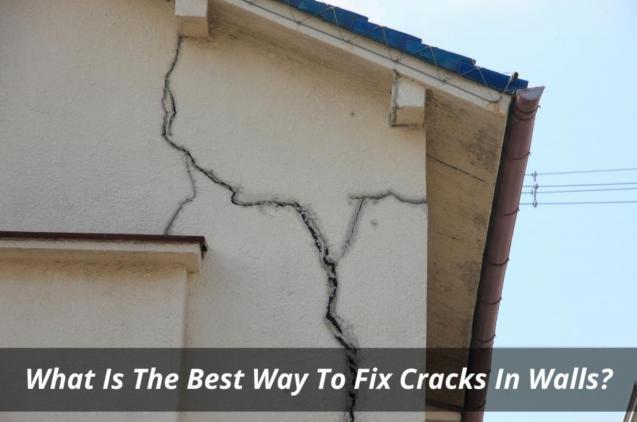
You've poured cement into your wall, and now you want to render or paint over it. What's the easiest way to smooth out the surface before painting?
Cement has become very common building material. It comes in two basic forms: portland cement and concretes. Portland cement consists of crushed limestone, clay, sand, and other minerals. If you mix these ingredients together properly, it produces a strong cement that adheres well to surfaces.
The downside is that it takes time to dry. Concrete, on the other hand, contains mainly sand, gravel, water, and chemicals. Because concrete dries much faster, you can apply colour at the same time. Once the concrete cures, you'll get a smooth finish.
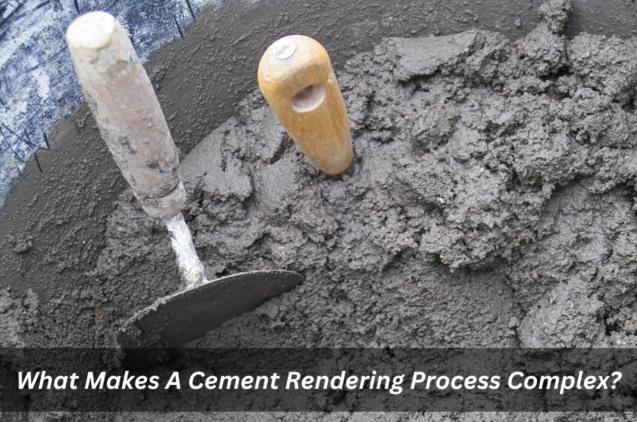
If your external walls aren't painted yet, mixing cement is easy. First, add water to the cement powder. Then add an activator such as sodium silicate (found at hardware stores) to create the chemical reaction that creates strength and makes the cement harden. Mix until all the lumps are gone.
When ready, pour the mixture onto the wall from a bucket or sprayer. Let it set for about 30 minutes before scrubbing with a clean brush. Apply more cement if necessary, then let it cure overnight. In the morning, you should have a solid surface covered in white cement.
Rendering finishes is a process where you stain a room, or part of one, using a variety of colours and textures. This process usually involves covering the entire interior of a room with paper and applying a layer of latex primer.
Some people also use a base coat called “shellac” to help seal the new plaster applied after rendering materials. After the shellac dries, the rendering team typically coats the walls with several coats of texture paint. The final step is to apply a second coat of shellac, which seals the texture paint and gives the wall its shiny appearance.
Different types of Render
There are many different types of house render systems available today, but each has its own advantages and disadvantages.
They come pre-mixed and require no application skills or equipment. However, they don't last long. Acrylics tend to fade and peel within months.
Traditional renders are techniques in architecture that use natural materials (such as wood, stone, and clay) instead of manufactured products.
Choose whether you want to do it yourself or hire someone else to do it. There are pros and cons to both options. Hiring a professional will likely be cheaper for the project, but you'll have to pay them and wait for them to complete the work before you can move into your new space.
For most homeowners, DIY renders are the way to go. But even if you decide to hire out the work, there are a few things you should keep in mind. Before hiring anyone out, consider what type of render your property needs.
If you're looking for a quick fix, you may choose to perform the job yourself. If you want something more permanent, you may want to call a reputable professional who specializes in this type of work.
What type of rendering is right for your home?
The first thing you must determine before tackling any kind of renovation is what exactly is wrong with your home and why you want to repair it. Are there structural issues that would benefit from a stronger foundation? Does your roof need replacing?
By understanding the scope of the problem, you can better narrow down your search for the right contractors. Once you've determined what problems need fixing, it's time to find an expert who does good work.
Once you know what needs repairing, it's time to dig into the details of the project. Decide whether you want to do the work yourself or call a pro. If you're planning to tackle the project yourself, remember that you should never begin any renovation project without determining what permits you need.
Cement has become very common building material. It comes in two basic forms: portland cement and concretes. Portland cement consists of crushed limestone, clay, sand, and other minerals. If you mix these ingredients together properly, it produces a strong cement that adheres well to surfaces.
The downside is that it takes time to dry. Concrete, on the other hand, contains mainly sand, gravel, water, and chemicals. Because concrete dries much faster, you can apply colour at the same time. Once the concrete cures, you'll get a smooth finish.
If your external walls aren't painted yet, mixing cement is easy. First, add water to the cement powder. Then add an activator such as sodium silicate (found at hardware stores) to create the chemical reaction that creates strength and makes the cement harden. Mix until all the lumps are gone.
When ready, pour the mixture onto the wall from a bucket or sprayer. Let it set for about 30 minutes before scrubbing with a clean brush. Apply more cement if necessary, then let it cure overnight. In the morning, you should have a solid surface covered in white cement.
Rendering finishes is a process where you stain a room, or part of one, using a variety of colours and textures. This process usually involves covering the entire interior of a room with paper and applying a layer of latex primer.
Some people also use a base coat called “shellac” to help seal the new plaster applied after rendering materials. After the shellac dries, the rendering team typically coats the walls with several coats of texture paint. The final step is to apply a second coat of shellac, which seals the texture paint and gives the wall its shiny appearance.
Different types of Render
There are many different types of house render systems available today, but each has its own advantages and disadvantages.
- Acrylic Render
They come pre-mixed and require no application skills or equipment. However, they don't last long. Acrylics tend to fade and peel within months.
- Concrete Render
- Stucco Render
- Polymer Render
- Lime Render
Traditional renders are techniques in architecture that use natural materials (such as wood, stone, and clay) instead of manufactured products.
Choose whether you want to do it yourself or hire someone else to do it. There are pros and cons to both options. Hiring a professional will likely be cheaper for the project, but you'll have to pay them and wait for them to complete the work before you can move into your new space.
For most homeowners, DIY renders are the way to go. But even if you decide to hire out the work, there are a few things you should keep in mind. Before hiring anyone out, consider what type of render your property needs.
If you're looking for a quick fix, you may choose to perform the job yourself. If you want something more permanent, you may want to call a reputable professional who specializes in this type of work.
What type of rendering is right for your home?
The first thing you must determine before tackling any kind of renovation is what exactly is wrong with your home and why you want to repair it. Are there structural issues that would benefit from a stronger foundation? Does your roof need replacing?
By understanding the scope of the problem, you can better narrow down your search for the right contractors. Once you've determined what problems need fixing, it's time to find an expert who does good work.
Once you know what needs repairing, it's time to dig into the details of the project. Decide whether you want to do the work yourself or call a pro. If you're planning to tackle the project yourself, remember that you should never begin any renovation project without determining what permits you need.